创建项目
Spring Initializr 创建 Spring Boot 项目,模板引擎选择 Thymeleaf。
项目的 pom.xml 如下:
1
2
3
4
5
6
7
8
9
10
11
12
13
14
15
16
17
18
19
20
21
22
23
24
25
26
27
28
29
30
31
32
33
34
35
36
37
38
39
40
41
42
43
44
45
46
47
48
49
50
51
52
53
54
55
56
57
58
59
60
61
62
63
64
65
66
67
68
69
| <?xml version="1.0" encoding="UTF-8"?>
<project xmlns="http://maven.apache.org/POM/4.0.0"
xmlns:xsi="http://www.w3.org/2001/XMLSchema-instance"
xsi:schemaLocation="http://maven.apache.org/POM/4.0.0 https://maven.apache.org/xsd/maven-4.0.0.xsd">
<modelVersion>4.0.0</modelVersion>
<parent>
<groupId>org.springframework.boot</groupId>
<artifactId>spring-boot-starter-parent</artifactId>
<version>2.3.7.RELEASE</version>
<relativePath/>
</parent>
<groupId>com.yin</groupId>
<artifactId>file-upload</artifactId>
<version>0.0.1-SNAPSHOT</version>
<name>file-upload</name>
<description>Spring Boot 文件上传练习</description>
<properties>
<java.version>11</java.version>
</properties>
<dependencies>
<dependency>
<groupId>org.springframework.boot</groupId>
<artifactId>spring-boot-starter-thymeleaf</artifactId>
</dependency>
<dependency>
<groupId>org.springframework.boot</groupId>
<artifactId>spring-boot-starter-web</artifactId>
</dependency>
<dependency>
<groupId>org.springframework.boot</groupId>
<artifactId>spring-boot-configuration-processor</artifactId>
<optional>true</optional>
</dependency>
<dependency>
<groupId>org.springframework.boot</groupId>
<artifactId>spring-boot-starter-test</artifactId>
<scope>test</scope>
<exclusions>
<exclusion>
<groupId>org.junit.vintage</groupId>
<artifactId>junit-vintage-engine</artifactId>
</exclusion>
</exclusions>
</dependency>
</dependencies>
<build>
<plugins>
<plugin>
<groupId>org.springframework.boot</groupId>
<artifactId>spring-boot-maven-plugin</artifactId>
<configuration>
<excludes>
<exclude>
<groupId>org.springframework.boot</groupId>
<artifactId>spring-boot-configuration-processor
</artifactId>
</exclude>
</excludes>
</configuration>
</plugin>
</plugins>
</build>
</project>
|
编写页面
在项目 resources/templates 文件夹下创建页面 FileUpload.html。
注意:表单 method="post",enctype="multipart/form-data"。多文件上传的 input 标签需要标注 multiple。
1
2
3
4
5
6
7
8
9
10
11
12
13
14
15
16
17
18
19
20
21
22
| <!DOCTYPE html>
<html lang="en" xmlns:th="http://www.thymeleaf.org">
<head>
<meta charset="UTF-8">
<title>文件上传</title>
</head>
<body>
<h1>文件上传</h1>
<form method="post" action="/fileUpload" enctype="multipart/form-data">
用户名:
<label>
<input type="text" name="username">
</label>
<br>
单文件上传:<input type="file" name="singleFile">
<br>
多文件上传:<input type="file" name="multipleFiles" multiple>
<br>
<input type="submit" value="提交">
</form>
</body>
</html>
|
编写 Controller
创建 Controller 处理请求,Spring Boot 进行文件上传已经十分方便。以单文件上传为例,多文件上传基本一样,数组处理即可。
@RequestPart("singleFile") MultipartFile singleFile :注解 @RequestPart("singleFile") 取出表单中 name="singleFile" 的 input 项,将文件封装到 MultipartFile singleFile,在方法中直接对其进行操作即可。getOriginalFilename() 方法获取上传的文件名getSize() 方法获取文件大小(单位byte)transferTo() 方法可直接将文件进行保存;想自己手动进行这一操作,也可以调用其 getBytes() 或者 getInputStream() 方法。
多文件上传只需数组处理 @RequestPart("multipleFiles") MultipartFile[] multipleFiles ,在方法中利用循环逐个进行处理即可。
1
2
3
4
5
6
7
8
9
10
11
12
13
14
15
16
17
18
19
20
21
22
23
24
25
26
27
28
29
30
31
32
33
34
35
36
37
38
39
40
41
42
43
44
45
46
47
48
49
50
51
52
53
54
55
56
57
58
59
60
61
62
63
64
65
66
67
68
69
70
71
72
73
74
| package com.yin.fileupload.controller;
import org.springframework.beans.factory.annotation.Value;
import org.springframework.stereotype.Controller;
import org.springframework.web.bind.annotation.*;
import org.springframework.web.multipart.MultipartFile;
import java.io.File;
import java.io.IOException;
@Controller
public class FileUploadController {
@Value("${file.upload.path}")
private String path;
@GetMapping("/")
public String uploadPage() {
return "FileUpload";
}
@ResponseBody
@PostMapping("/fileUpload")
public String fileUpload(@RequestParam("username") String username,
@RequestPart("singleFile") MultipartFile singleFile,
@RequestPart("multipleFiles") MultipartFile[] multipleFiles) throws IOException {
System.out.println(username + " 上传文件");
String singleFileName = singleFile.getOriginalFilename();
long singleFileSize = singleFile.getSize();
if (!singleFile.isEmpty()) {
singleFile.transferTo(new File(path + singleFileName));
}
String msg1 = "单文件上传成功!文件名:" + singleFileName
+ ",文件大小(byte):" + singleFileSize;
System.out.println(msg1);
int length = multipleFiles.length;
System.out.println("多文件上传个数:" + length);
for (MultipartFile multipleFile : multipleFiles) {
String multipleFileName = multipleFile.getOriginalFilename();
long multipleFileSize = multipleFile.getSize();
if (!multipleFile.isEmpty()) {
multipleFile.transferTo(new File(path + multipleFileName));
}
String msg2 = "文件上传成功!文件名:" + multipleFileName
+ ",文件大小(byte):" + multipleFileSize;
System.out.println(msg2);
}
return "上传完毕";
}
}
|
相关属性设置
application.properties 中的相关属性设置
Spring Boot 默认单个文件最大 1MB,单次请求最大 10MB,可根据需求进行设置。
1
2
3
4
5
6
7
8
|
spring.servlet.multipart.max-file-size=100MB
spring.servlet.multipart.max-request-size=1024MB
file.upload.path=D:/
|
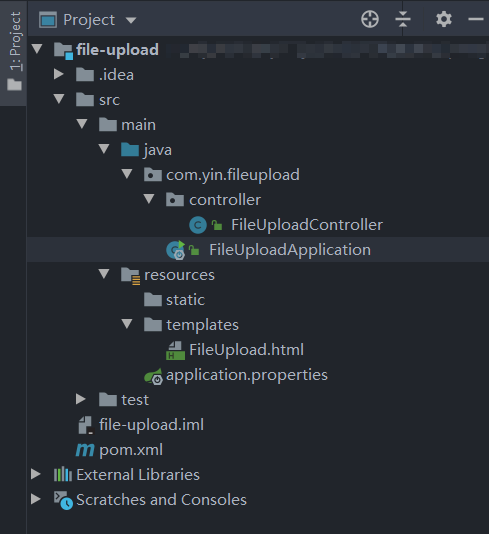
效果演示
项目结构:
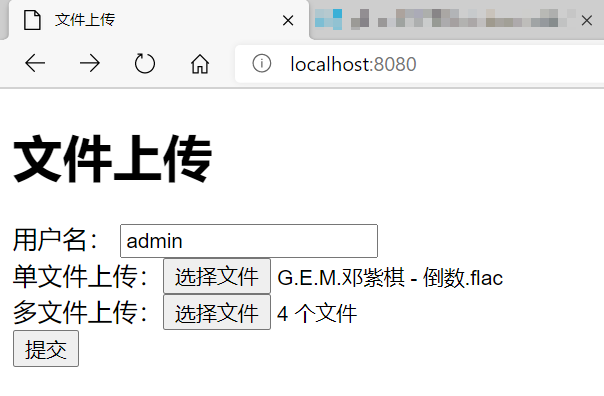
页面:
结果:
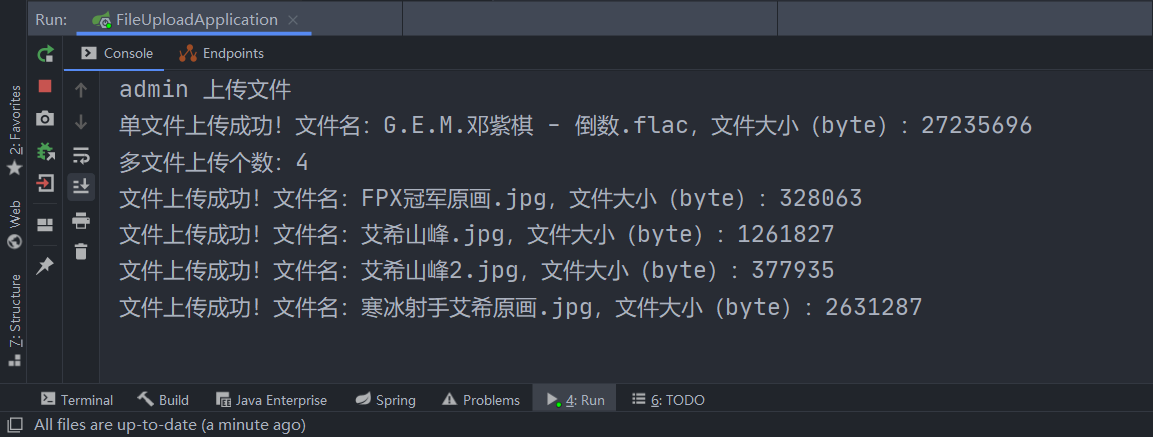
可在指定的位置查看已上传的文件
代码已上传至:https://gitee.com/ME_WE/spring-boot-practice